
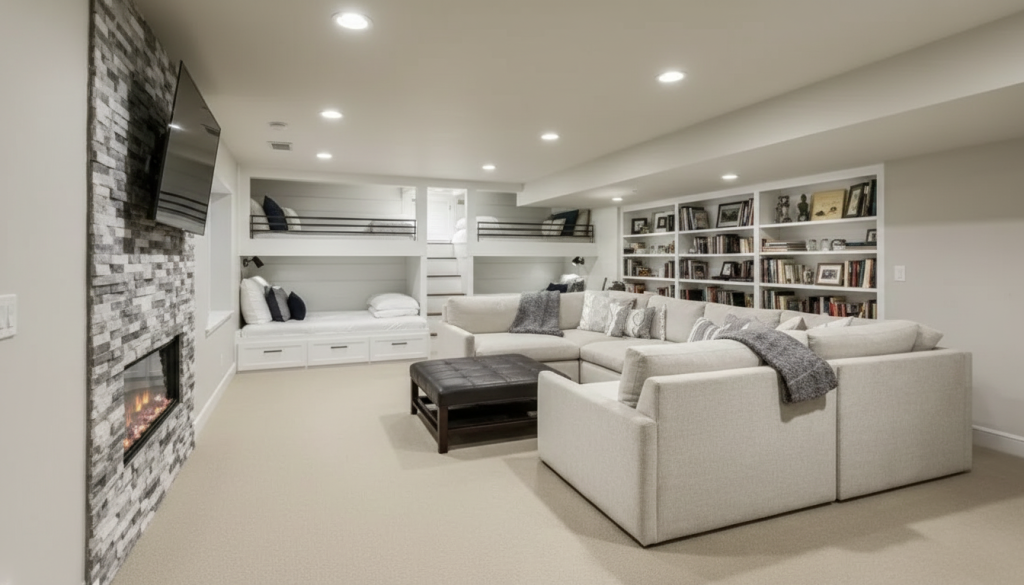
Everything you need to know — week by week — to transform a raw basement into a beautiful, livable space, without costly surprises.
- 8–12 weeks – Average timeline
- 7 – Key project phases
- +15% – Typical home value added
- 3 – Permits usually required
Table of Contents
Introduction
Finishing a basement is one of the most rewarding home improvement projects you can take on. Done right, it can add hundreds of square feet of livable space, increase your home’s resale value, and finally give your family that rec room, home office, or guest suite you’ve always wanted.
But the number one reason basement projects go over budget and over schedule? No clear plan.
This guide breaks down the complete timeline — phase by phase — so you know exactly what to expect from day one to move-in day.
Phase-by-Phase Breakdown
Planning & Design
Weeks 1–2
This is the most important phase — and the one most homeowners rush. A solid plan saves weeks of rework later. Define your goals: are you building a playroom, a home gym, a rental suite? Sketch a floor plan, set a realistic budget (add 15–20% contingency), and identify load-bearing walls, egress windows, and utility access points before anything else.
Permits & Approvals
Weeks 2–4
Skipping permits is the single costliest mistake in basement finishing. Most municipalities require permits for framing, electrical, plumbing, and HVAC work. Submit your drawings and application early — approval windows vary from a few days to several weeks depending on your locality. Work cannot legally begin on permitted items until approval is granted.
Waterproofing & Moisture Control
Weeks 3–4
Moisture is the silent enemy of every basement finish. Before framing a single wall, address any existing water intrusion, seal cracks in the foundation, and install a vapor barrier. If you skip this step, you risk mold, warped framing, and a total gut renovation down the line. Test for radon while you’re at it — mitigation is cheap now, expensive later.
Rough-In Work
Weeks 4–7
This is where your basement begins to take shape. Framing goes up first — typically metal studs for basement walls due to moisture resistance. Then plumbers rough in any new fixtures (bathrooms are a game-changer for basement suites), electricians run wiring and panel circuits, and HVAC contractors extend ductwork or install supplemental heating. This phase requires multiple inspections before walls close.
Drywall & Ceilings
Weeks 7–8
Once inspections pass and insulation is in, the walls close up with drywall. Use moisture-resistant drywall (greenboard or cement board in bathroom areas). Basement ceilings deserve careful thought — drywall gives the most finished look but limits future access; drop ceilings are practical if you have plumbing or HVAC to service. Tape, mud, and sand is a multi-day process — don’t rush the cure time.
Finishing Work
Weeks 8–11
This is where style takes center stage. Paint goes on, flooring is installed (luxury vinyl plank is a top basement choice for moisture tolerance and comfort underfoot), trim and doors are hung, and built-ins go in. Kitchenette or bathroom fixtures are set and connected. This phase has the most moving parts — sequence your trades carefully to avoid stepping on each other’s work.
Final Inspection & Punch List
Weeks 11–12
Before you celebrate, schedule your final municipal inspection — this closes out your permit and confirms the space is legally habitable. Simultaneously, walk the space with your contractor to build a punch list of every incomplete or substandard item. Don’t make final payment until the punch list is cleared and the certificate of occupancy (if required) is in hand.
Ready to Break Ground?
A well-prepared home makes for a faster, safer, and more satisfying renovation.
Contact us on: 720-968-7874 and and we’ll set your project — up for success from day one.