
A major remodel is exciting, and it’s disruptive. The homeowners who get through it calmly are usually the ones who started preparing weeks before demolition. This guide covers what to do before work starts, what demo day is really like, how to keep pets safe, and how to keep communication with your contractor clear from start to finish.
Before Work Starts
1. Set a budget with a buffer
Decide the total you can spend, then hold part of it back as a contingency. Opening walls often reveals outdated wiring, plumbing that needs upgrading, or structural issues nobody could see before. Break the budget into labor, materials, permits, and furniture, and get at least three written quotes.
Tip: Write down your walk-away number, the most you’ll spend. Having it in writing keeps scope creep in check.
2. Define the scope in writing
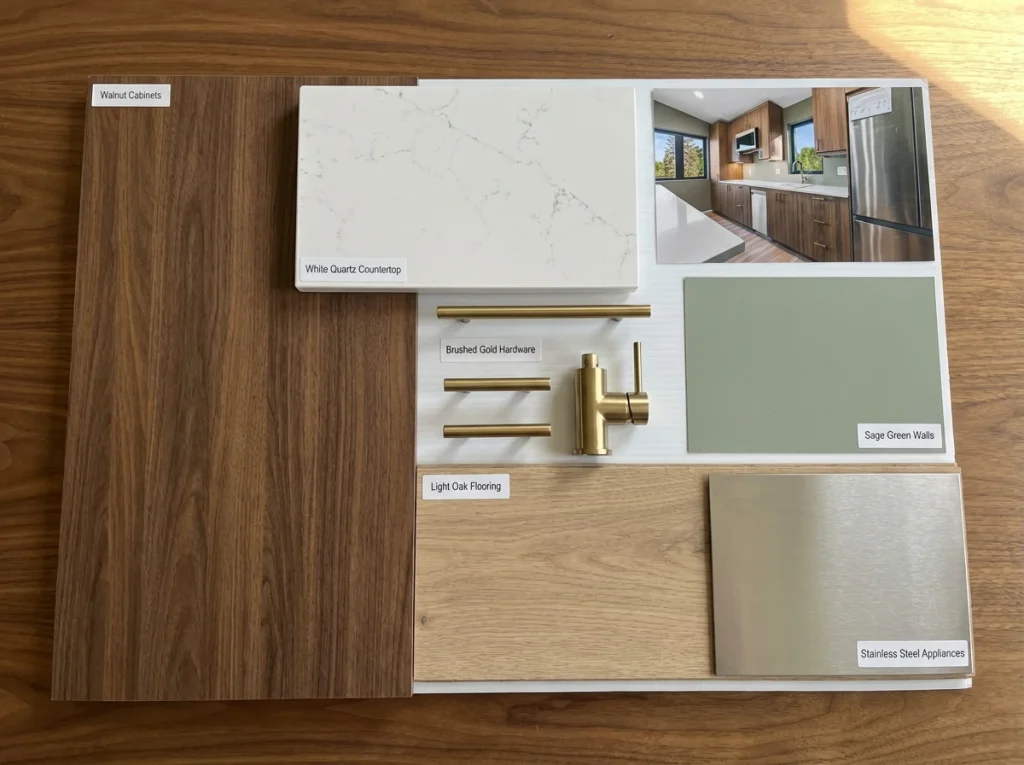
Agree with your contractor, in writing, on which rooms are included, what stays, what goes, which finishes you expect, and the timeline. Be specific. “Modern kitchen” means different things to different people, so name the countertops, cabinet style, layout changes, and must-have features. Photos and saved inspiration boards remove a lot of guesswork.
Ask yourself: What does “done” look like? Define the finish line before you start.
3. Confirm the permits
Unpermitted work can cause trouble with insurance claims, complicate a sale, and in the worst cases has to be opened up or torn out for inspection. Your contractor should file the permits. Your job is to make sure it happens.
Do this: Ask for copies of all issued permits before demo day.
4. Agree on a schedule and how you’ll communicate
Before work begins, agree on:
- The schedule: start date, key milestones, and projected finish.
- Check-ins: weekly for larger projects, so small issues don’t become big ones.
- Channels: for example, texts for quick questions and email or the client portal for formal approvals. Agree on how fast each side will respond.
- One decision-maker on your side, so your contractor isn’t getting mixed answers.
Tell your contractor about your life, too: whether you work from home, have young kids or pets, or have travel or family events coming up.
5. Plan where you’ll live
Depending on the scope, part or all of your home may be unusable for a while. If you’re staying, figure out which rooms stay livable and set up a temporary kitchen with a coffee maker, microwave, and mini fridge. If you’re moving out, book early.
6. Protect and store your belongings
Dust travels farther than you’d expect. Clear furniture, art, and valuables out of the work zones and the rooms next to them. Use a storage unit or a sealed-off room for large items. Photograph valuables before you store them, for insurance.
7. Make a plan for your pets
Loud tools, strangers, fumes, and debris are stressful and sometimes dangerous for pets. Plan for them before demo day (details below).
8. Give your neighbors a heads-up
A quick note before demolition goes a long way, especially in townhomes and close-together neighborhoods. Ask your contractor about daily start and end times so you can share them.
Demolition Day: What to Expect
Demo is when your project goes from plans to real change, and it’s rarely just one day. For a standard kitchen or bathroom, expect about 1–3 days. Larger projects take longer.
It will be messy, but it should be contained. Crews remove cabinets, flooring, fixtures, drywall, and sometimes walls. Doorways are sealed with plastic sheeting or zip walls, vents in the work area are covered, and debris should be cleaned up at the end of every workday rather than left to pile up.
It will be loud. Saws, hammers, and pry bars make the first days the noisiest. If you work from home, plan to be somewhere else.
Expect a few surprises. Older Denver homes often hide outdated wiring, plaster walls, or layers of past “updates.” Homes built before 1978 may have lead paint, and older flooring or insulation can contain asbestos. Professional crews check for these and handle them safely before going further. This is one reason DIY demo often costs more than it saves.
Expect temporary inconveniences, like no kitchen sink, no shower, or rooms you can’t use for a while.
It gets worse before it gets better. Seeing a familiar room torn apart can sting. Keep your inspiration photos or renderings handy and remember that the mess is temporary.
Keeping Pets Safe Through the Project
Set up a pet-safe room away from the work, with:
- Food and water
- A bed or crate
- Favorite toys
- A litter box, if needed
- White noise (a fan or calming music)
Keep the door closed and post a sign: “Pet inside. Please keep this door closed.”
Watch for hazards. Nails, screws, blades, sawdust, electrical cords, wet paint, and adhesives are all within reach of a curious pet.
Protect their lungs. Dust and fumes are hard on pets, especially birds, small animals, and pets with breathing problems. Close off vents in the work zone, run an air purifier, and ask about low-VOC paints and finishes.
Keep routines steady. Feed and walk on the usual schedule and give a little extra attention.
Ease the noise. Calming pheromone diffusers and sound-dampening blankets around the pet room can help. For very anxious pets, ask your vet about short-term options.
Consider a temporary stay elsewhere during heavy demo or long stretches of noise: family or friends, daycare, boarding, or an in-home sitter. This is especially wise for birds, reptiles, older pets, and anxious animals.
Tell your crew. Let them know you have pets and ask them to keep doors and gates closed and to warn you before especially loud or smelly work.
During Construction: Keep Communication Clear
- Ask questions early. During selections, ask about maintenance and how materials hold up in Denver’s dry climate and altitude. On any change, ask about the cost and schedule impact before you approve it. If something looks off on a site visit, say so right away.
- Make decisions on time. Delays often come from waiting on homeowner approvals. If you need more time, say so and set a new deadline.
- Treat surprises as information. A contractor who raises a problem early is doing the job well. Make sure your contract explains how change orders work: what triggers one, how fast you’ll hear about it, and how the price is set. Our guide to understanding change orders goes deeper.
- Put important decisions in writing, in email or the client portal. It creates a record everyone can check.
- Remember the people. Your contractor and crew are working hard on your home. Approach problems as “How do we solve this?”
Good signs: quick, clear replies, open sharing of problems and fixes, and organized documentation. Warning signs: vague answers, avoiding written commitments, pressure to decide fast, and long gaps between updates.
How We Run a Remodel
At Building While Giving, you see your schedule, daily updates, photos, and messages in our JobTread client portal from day one. You get a detailed written estimate before work begins, permit handling when your project needs it, and a one-year workmanship warranty with check-ins at 3 days, 3 weeks, 3 months, and 1 year. We also give 5% of our profit from every project to a nonprofit you choose.
If you’re planning a kitchen, bathroom, basement, or whole-home remodel in the Denver area, schedule a consultation and we’ll help you plan for every stage.